New Ricoh Printer Install
Please follow these step by step instructions to ensure that the new Ricoh Printer is installed.
Step 1:
Please type the following in the Search function, located on the taskbar: “Company Portal” You should see an application with a blue icon. Click on the app.
If you do not have the Company Portal app, please contact the IT Helpdesk

Step 2:
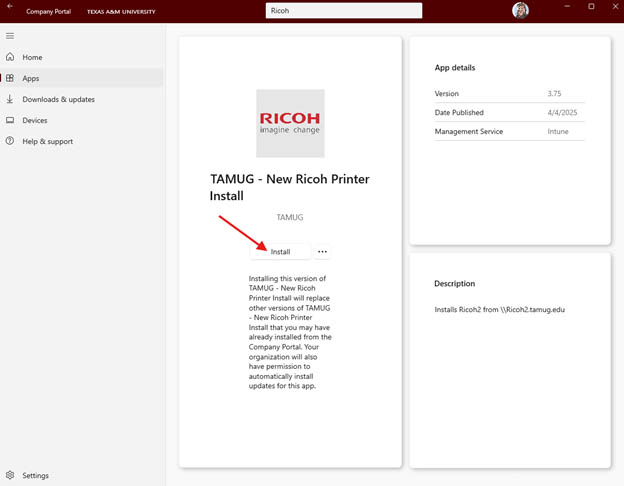
Once Company Portal is open, type “Ricoh” in the top search function of the app. In a few moments, you may see a few options for Ricoh. Please click on the app labeled “TAMUG - New Ricoh Printer Install”

Step 3:
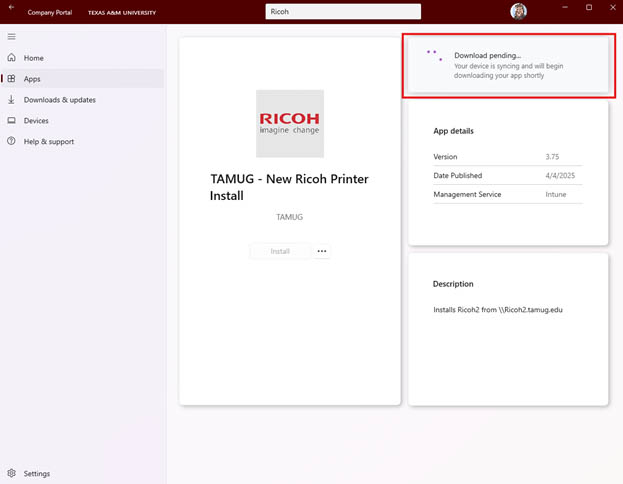
Click Install. The installation should begin shortly, if there are no other pending applications ahead of it.
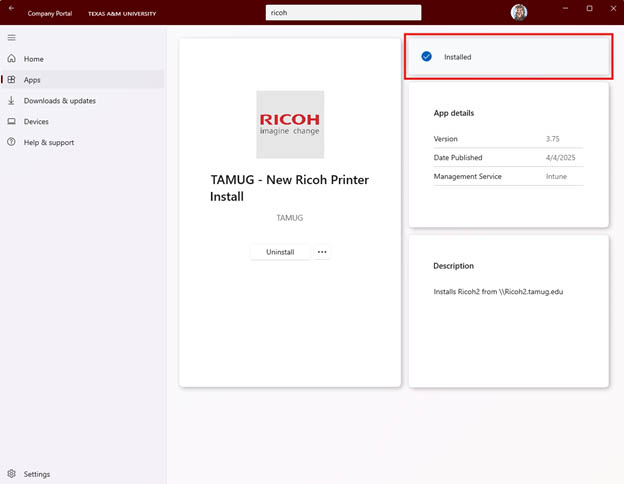
Step 4:
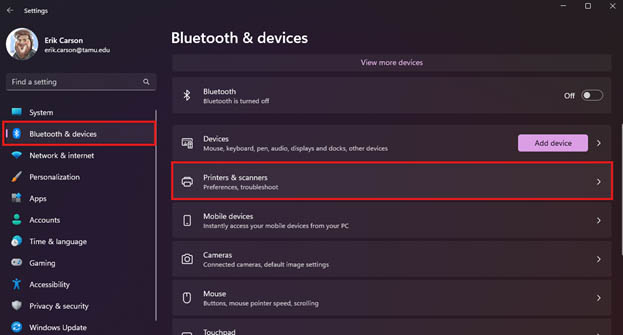
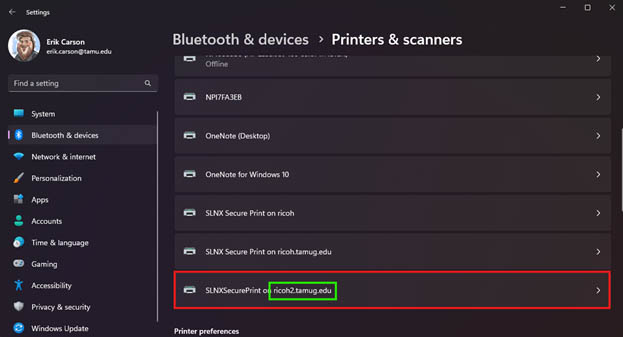
The new Ricoh should now be installed. Please verify that the device shows in your printers and devices by navigating to:
Settings > Bluetooth & Devices > Printers & Scanners.
The printer should be listed as “SLNXSecurePrint on ricoh2.tamug.edu”
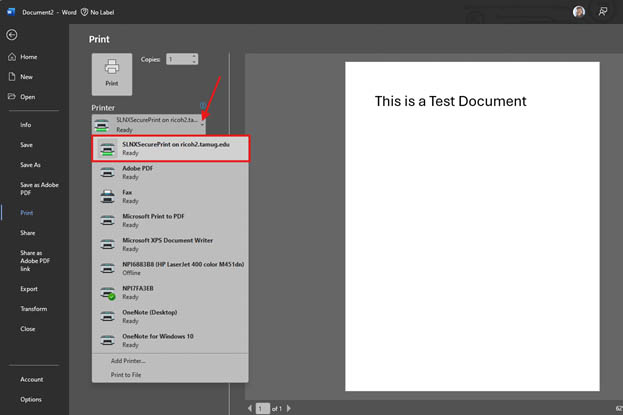
You can also test by opening a Word document and navigating to: File > Print (As if printing a document), and selecting the printer in the dropdown menu labeled “Printer”.
If you have any trouble following the instructions provided or are receiving any errors while attempting to install the new printer, please contact the IT Helpdesk: